OAuth2 Configuration for TerminusDB to allow for SSO
TerminusDB supports different authentication mechanisms. It can authenticate using HTTPS Basic, but also JWT or OAuth2 using a user forward header. The advantage of authenticating through OAuth2 is that it is easy to configure an external authentication service to be used to authenticate users in TerminusDB.
In this tutorial, we will configure TerminusDB to use GitHub as an external authentication service using oauth2-proxy.

Set up a new GitHub OAuth2 application
1. First, go to https://github.com/settings/applications/new
2. Make a new OAuth2 app called “TerminusDB login”.
3. Set the homepage url to a page of your choice that describes your application.
4. Set the callback URL to: http://internal.company.local:4180/oauth2/callback
5. Enable “Request user authorization (OAuth) during installation”.
6. Add the following entry in your /etc/hosts file:
127.0.0.1 internal.company.local
7. And finally, generate a new secret by clicking “Generate a new client secret”. Be sure to save it somewhere safe!
Using docker-compose to run the OAuth2 stack
We use oauth2-proxy to handle the authentication for us. TerminusDB will accept a header coming from oauth2-proxy to know that a user has authenticated.
You will need to set the parameters in the following docker-compose yaml file:
YOUR_GITHUB_USERto your github user.YOUR_CLIENT_IDto the client ID that github gave your applicationYOUR_CLIENT_SECRETto the client secret that you copied from the github OAuth application screenYOUR_COOKIE_SECRETany secret you like, but which must be 16 or 32 bytes exactly!
Save the following docker-compose yaml as docker-compose.yml somewhere and run docker-compose up
					version: "3"

volumes:
  terminusdb_storage:

services:
  terminusdb-server:
    image: terminusdb/terminusdb-server:dev
    container_name: terminusdb-server
    hostname: terminusdb-server
    tty: true
    ports:
      - 6363:6363
    environment:
      - TERMINUSDB_SERVER_PORT=6363
      - TERMINUSDB_INSECURE_USER_HEADER_ENABLED=true
      - TERMINUSDB_INSECURE_USER_HEADER=X-Forwarded-User
  oauth2-proxy:
    container_name: oauth2-proxy
    image: quay.io/oauth2-proxy/oauth2-proxy:v7.2.0
    command: --provider="github" --github-user="YOUR_GITHUB_USER" --client-id="YOUR_CLIENT_ID" --client-secret="YOUR_CLIENT_SECRET" --cookie-secret="YOUR_COOKIE_SECRET" --upstream="http://terminusdb-server:6363" --email-domain=* --http-address="0.0.0.0:4180" --redirect-url="http://internal.company.local:4180/oauth2/callback" --cookie-secure=false
    ports:
      - 4180:4180
    hostname: oauth2-proxy
    restart: unless-stopped
Add the user to the TerminusDB database
Run the following cURL command while Docker is running to add a user with admin privileges (and make sure you replace YOUR_GITHUB_USER with your GitHub user name):
					curl -X POST -u admin:root "http://localhost:6363/api/document/_system?author=me&message=yo" \
  -d '{ "@type": "User", "name": "YOUR_GITHUB_USER", "capability": "Capability/server_access"}' \
  -H 'Content-Type: application/json'
And make a test database with the admin user:
					curl -X POST -u admin:root 'http://localhost:6363/api/db/admin/foo' -H 'Content-Type: application/json' \
  -d '{ "comment": "Test DB", "label": "TestDatabase" }'
Test your example
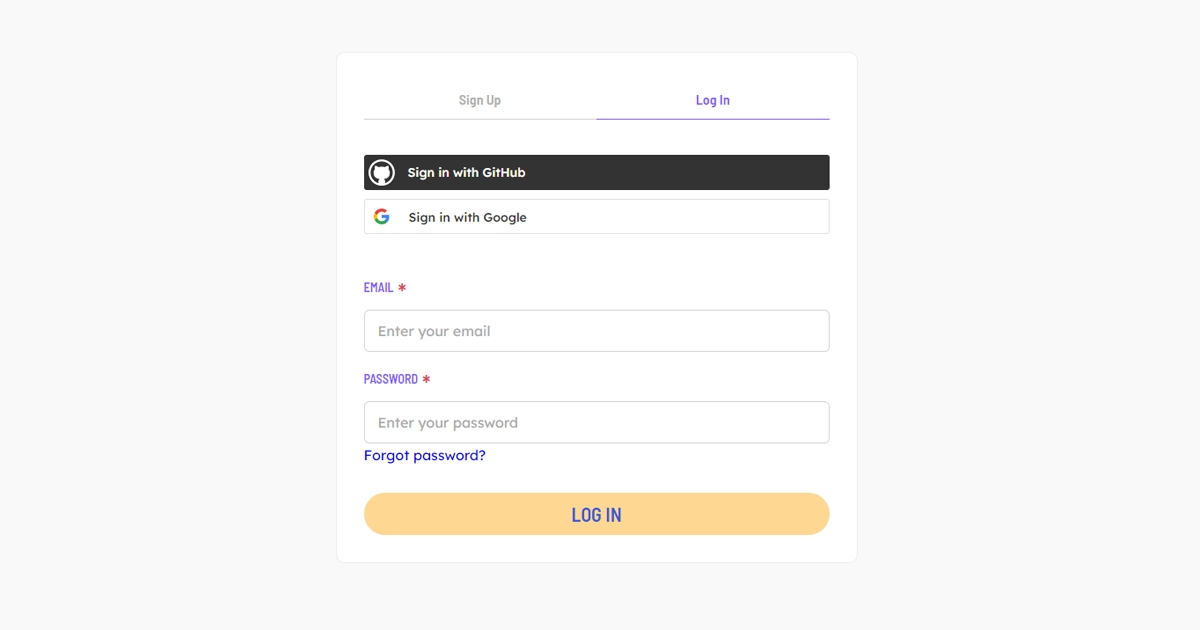
If you visit http://internal.company.local:4180 you should see a login screen. Once logged in, it will give you access to the TerminusDB API from the browser with a session cookie. Try to visit http://internal.company.local:4180/api/ to see your available databases.
If you browse without authentication on http://localhost:6363/api/ you will see that it won’t list the newly created database.
Some notes on security
ALWAYS make sure to protect terminusdb-server if you use the insecure user forward header. This is only meant to be used when you can guarantee that TerminusDB will only be accessible by a proxy that secures access to the database server.
Make sure to wipe out the insecure user header from incoming requests and change cookie-secure in the oauth2-proxy command to be true. In the docker-compose.yml example, the 6363 port is opened for convenience sake, to quickly allow you to make the user and database with a cURL command. However, in production the server should be entirely closed off. Furthermore, you should set up proper HTTPS domains for your users.