Release Candidate — TerminusDB 12.1
This page documents functionality in the upcoming TerminusDB 12.1 release. Details may change before the final release.
What you'll achieve
By the end of this guide, you will know how to sign in to the Admin Console and manage teams, users, branches, permissions, and data products through a web interface — no command line required.
The Admin Console (TDB Admin) is a web-based administration interface bundled with TerminusDB Community Edition. It provides a graphical way to manage your TerminusDB instance: organise users into teams, control access with role-based grants, create and manage data products (databases), and work with branches.
Prerequisites
- TerminusDB Community v12.0.6 or later — the Admin Console ships by default with this version. If you are running an earlier version, upgrade your installation.
- The Admin Console is available at your TerminusDB host on the
/dashboard/path (e.g.http://localhost:6363/dashboard/). - You need the
adminusername and the password you set when starting TerminusDB.
Sign in
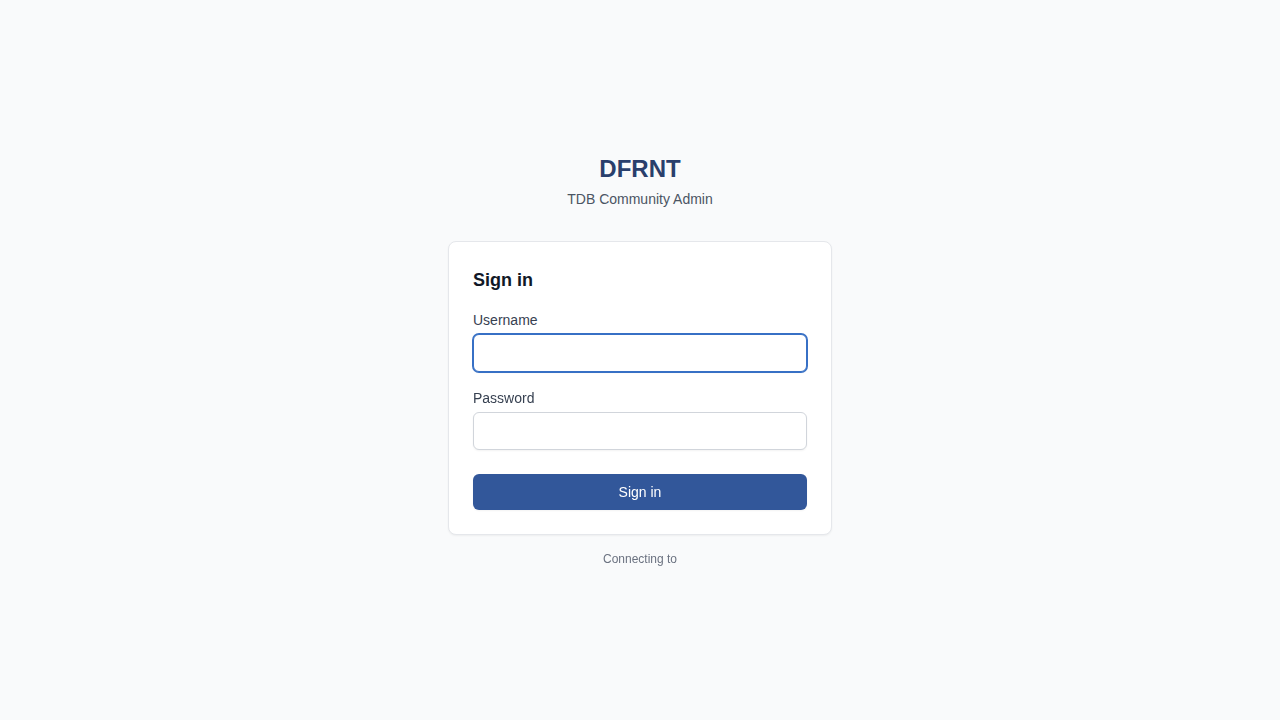
- Open your browser and navigate to the Admin Console URL — by default,
http://localhost:6363/dashboard/. - Enter your Username (typically
adminfor the initial setup). - Enter your Password (the password configured when you started TerminusDB).
- Click Sign in.
Default credentials
If you started TerminusDB with Docker using the default configuration, the username is admin and the password is root. Change this immediately in production — see Password Reset below.
Manage teams and members
Teams are the primary way to organise users and control which data products they can access. Every user belongs to at least one team, and each team has its own set of data products.
Create a team
- Click Teams in the left sidebar.
- Click Create Team in the top-right corner.
- Enter a team name (e.g.
Engineering) and confirm.
View and manage team members
- Click Teams in the left sidebar.
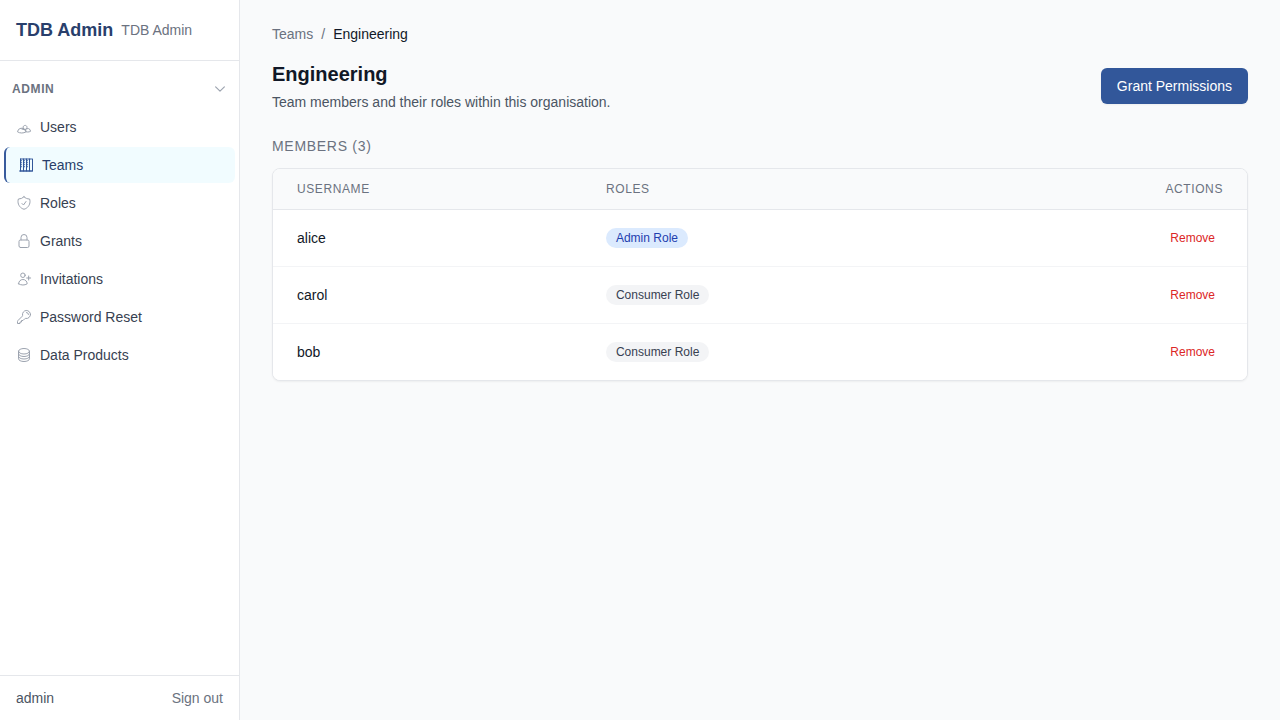
- Click a team name to view its members.
- Each member row shows the username, their assigned role, and a Remove action.
Add a member to a team
- Navigate to the team page.
- Click Grant Permissions in the top-right corner.
- Select the user, choose a role (e.g. Admin Role or Consumer Role), and confirm.
Remove a member from a team
- Navigate to the team page.
- Click Remove next to the member you want to remove.
- Confirm the removal.
Manage data products
Data products are TerminusDB databases, grouped by team. Each data product has a name, label, description, and one or more branches.
View data products
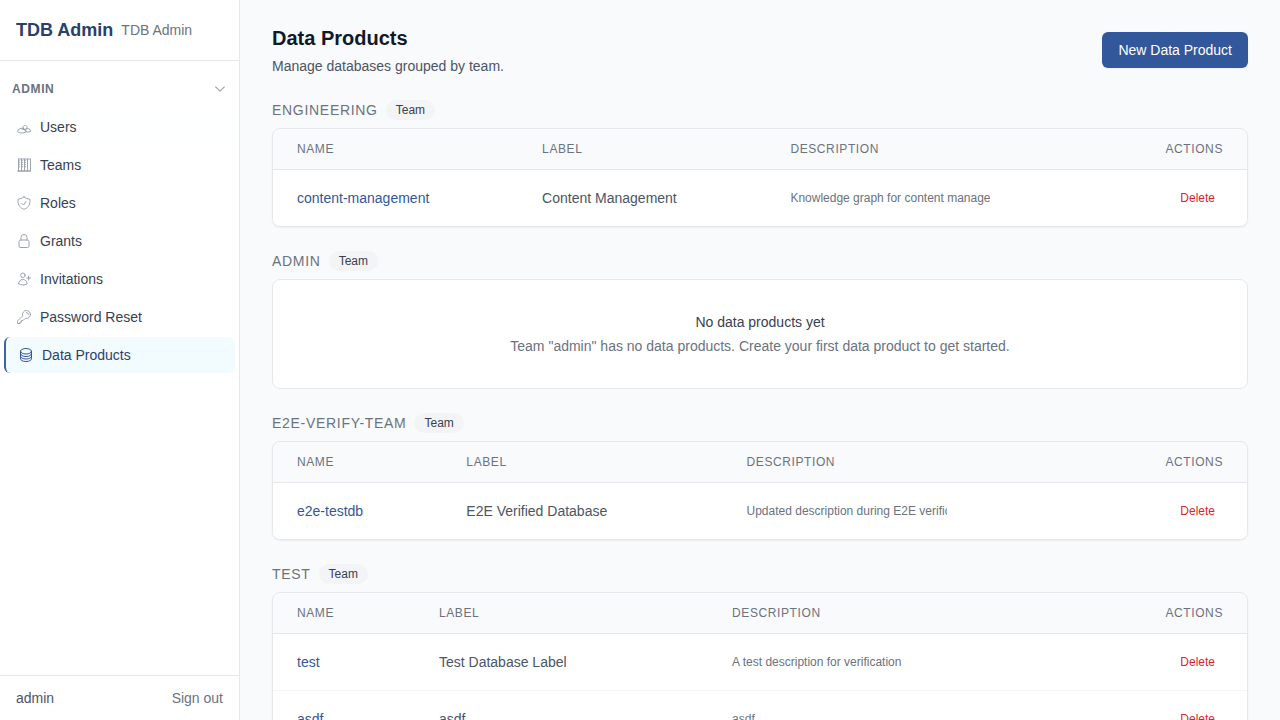
- Click Data Products in the left sidebar.
- Data products are listed grouped by team. Each entry shows the database name, label, and description.
Create a data product
- Click Data Products in the left sidebar.
- Click New Data Product in the top-right corner.
- Select the owning team, enter a name, label, and description.
- Click Create.
Delete a data product
- Navigate to Data Products.
- Click Delete next to the data product you want to remove.
- Confirm the deletion.
Destructive action
Deleting a data product permanently removes the database and all its branches, commits, and data. This action cannot be undone.
Manage branches
Branches let you work on data changes in isolation before merging them back. The Admin Console shows all branches for a data product and lets you create or delete them.
View branches
- Click Data Products in the left sidebar.
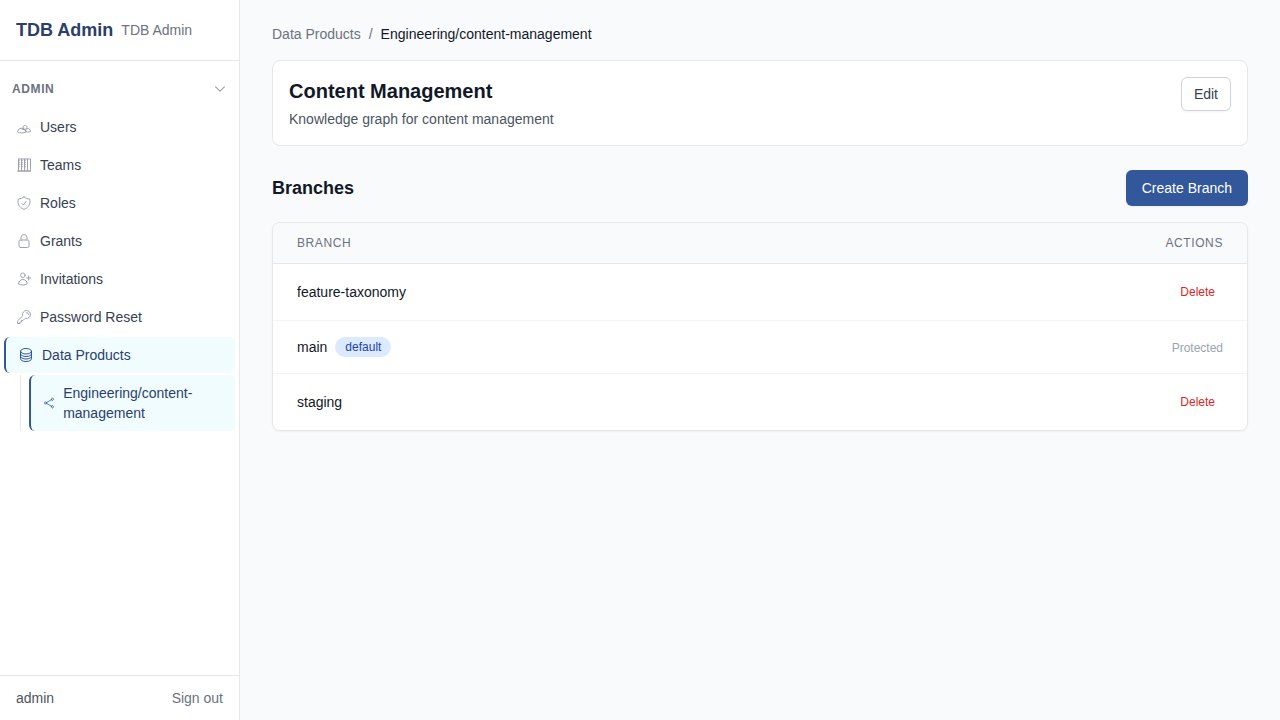
- Click a data product name to open it.
- The Branches section lists all branches. The default branch (
main) is marked with a badge and cannot be deleted.
Create a branch
- Open a data product.
- Click Create Branch in the top-right corner.
- Enter a branch name and confirm. The new branch is created from the current state of
main.
Delete a branch
- Open a data product.
- Click Delete next to the branch you want to remove.
- Confirm the deletion. The
mainbranch cannot be deleted.
Manage grants and permissions
Grants control what users can do within your TerminusDB instance. A grant connects three things: a user, a role (which defines capabilities), and a resource (the team or data product the role applies to).
View grants
- Click Grants in the left sidebar.
- Use the tabs to switch between Team Grants and Data Product Grants.
- Use the Team dropdown to filter grants by team.
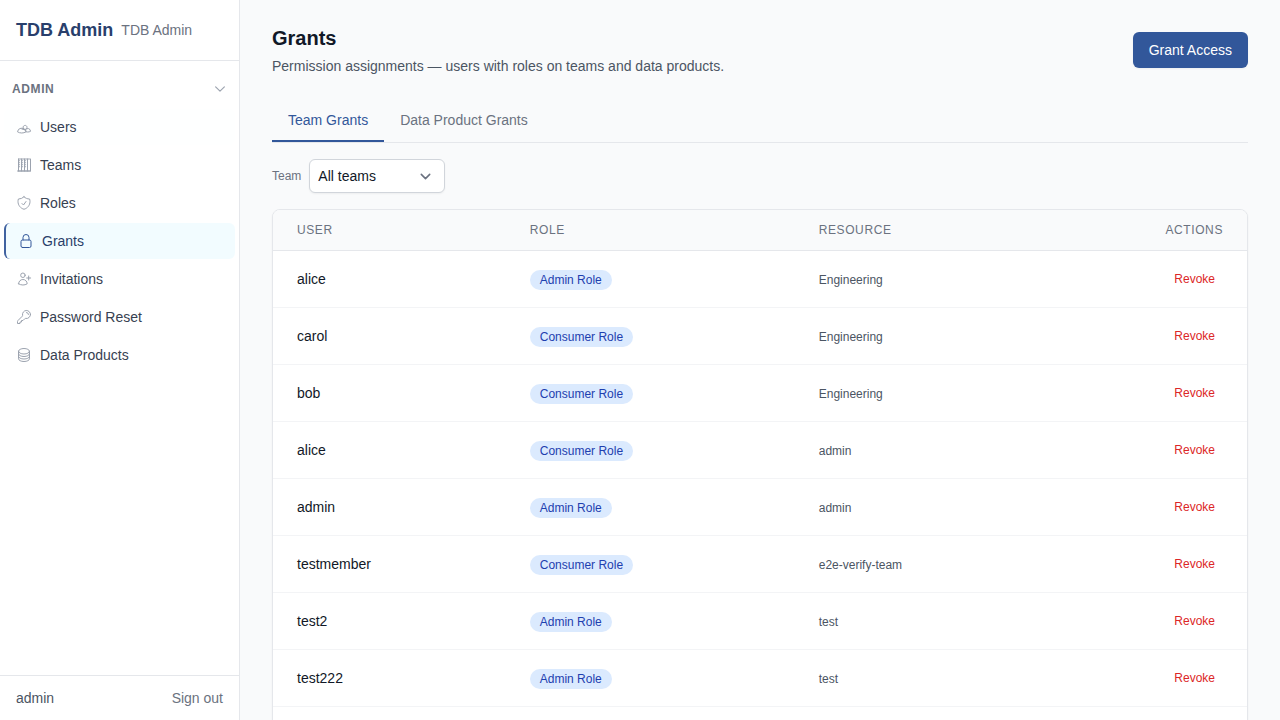
Grant access
- Click Grants in the left sidebar.
- Click Grant Access in the top-right corner.
- Select the user, role, and resource (team or data product).
- Confirm the grant.
Revoke access
- Navigate to Grants.
- Click Revoke next to the grant you want to remove.
- Confirm the revocation.
Built-in roles
TerminusDB ships with two default roles:
- Admin Role — full read/write access, can manage users and grants.
- Consumer Role — read-only access to data products within the granted scope.
You can create custom roles via the Roles section in the sidebar or the Capabilities API.
Reset a user's password
- Click Password Reset in the left sidebar.
- Select or type the username.
- Enter the new password and confirm.
Change the default password
If you are running TerminusDB in production, change the default admin password immediately after first sign-in. Anyone with the admin password has full control of your instance.
Manage users
Create a user
- Click Users in the left sidebar.
- Click Create User.
- Enter the username and password, then confirm.
Delete a user
- Click Users in the left sidebar.
- Click Delete next to the user you want to remove.
- Confirm the deletion.
Next steps
- Access control explanation — understand the TerminusDB permission model in depth.
- Branch your database — work with branches using the HTTP API and client libraries.
- Capabilities API modes — programmatic access to roles and grants.
- Install TerminusDB — set up a fresh TerminusDB instance with Docker.